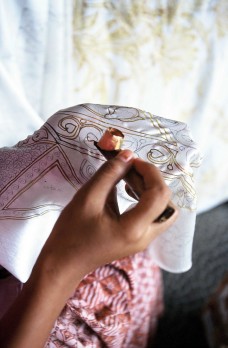
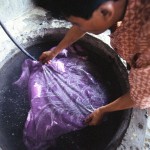
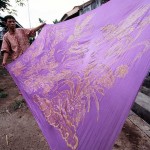
Batik is an ancient process of decorating cloth by covering part of it with a coat of wax and then dyeing the cloth. In fact, the literal translation of the work Batik is “wax written”. The waxed area keeps its original color and when the wax is removed the contrast between the dyed and undyed area makes the pattern. Because batik wax is applied hot it is necessary to work rapidly.
Today we visited a cooperative of Malaysian Batik artists practicing in Singapore. Their co-op is called Butik, Batik, Tasik. We watched as the artists demonstrated each step of the time-proven process. The two main techniques used for creating batiks are hand-painting (Batik Tulis) and printing. A variety of high quality cottons and silks are used. Only natural fibers can be used in the Batik process.
Equipment
Canting Tulis (writing tool)
Canting Cap (wood or copper printing block)
Bunsen Burner
Small Wok
Paintbrush
Wax (mix of paraffin and sticky wax)
Natural and Chemical Dyes
Batik Tulis Process
1. Prepare a white section of cloth using the textile and dimensions of choice
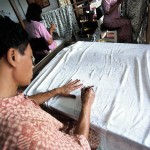
2. Use a pencil to draw a motif on the cloth
3. Gently melt a block of wax in the wok
4. Place a small amount of wax inside the canting
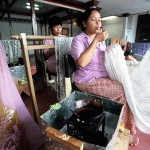
5. Blow the tip of the canting to ensure smooth delivery of the wax
6. The three main techniques for applying the wax are as follows:
• Klowong: Wax is applied to the lines of your design
• Ngerensi: Wax is applied to the body of the design
• Di Blok: The background is covered with wax, leaving the pattern untouched)
7. Apply the dye. Repeat steps 5 and 6 in certain areas to achieve contrast between lighter and darker colors
8. Boil the material so that the wax turns to steam, revealing the white cloth beneath
9. Now block the reverse portion of the pattern to get the background/foreground color. Apply your dye
10. Boil again, then hang to dry in the sun
11. Iron when dry
- Artist uses a canting tool to apply the hot wax
- Artist blowing the canting tool before application to insure smooth delivery
- Artist drawing a Batik motif in pencil
- Fabric is ready for dye
- Final Batik is hung to dry
